Toiletries are some of the most annoying things to buy. Not because I don’t love perusing the scents or intended benefits or that I don’t love
treating myself the occasional totally unnecessary but fun to have makeup or lotion or whatever. It’s because it is all super expensive! All of it, even the stuff you HAVE to get, I’m talking about toothpaste, soap, and lady products here. And you just have to keep buying it it. In an effort to skimp some cash since I became a stay-at-home Mom one of the things I’ve tried to do is buy a lot of generic toiletry stuff, especially body wash. I’m a big fan of Dove but at somewhere between $5-7 a bottle it was one of the first generics I went for. I stopped using bar soap even though it is cheaper a long time ago because I hate cleaning the scummy mess it leaves in the shower and supposedly it’s a little easier on your pipes. Anyways, when I saw THIS PIN from Stacy at the The Brady Bunch to make body wash soap from bars of soap I knew I had to try it. I chose the specific Dove pin because that’s my brand of choice but I have seen it claimed with random types too. According to Stacy’s math it costs only a $1.72 for a bottle… super awesome!
The pin says to shave down the bars then add to water, heat until melted then cool. Pretty straightforward right? The ratio is a 4 oz bar of soap to 2 cups water. Stacy said it came out a bit more watery than the actual Dove bodywash so I tweaked mine to about 4 oz to 1.75 cups. I put all the water in a pot over med-low heat and started grating the sops right into the pot.
It took me 10 minutes to do 2 bars of soap using a straight grater. I had to reduce the heat a bit. Overall it took about 30 minutes of heating and stirring occasionally for the soap to look all melted and without clumps. I let it cool for quite a while but it still seemed warm so I let it sit overnight. By morning it was obviously ready to bottle. And that’s where I ran into a problem. Because I made it thicker I could not pour it into the bottle (empty generic soap bottle) and a funnel didn’t work either because of the thickness. I ended up making a giant mess scooping the soap into a ziploc the cutting the corner and using like a pastry bag. This worked well enough but I ended up with a very soapy situation!
Bottom line – do it! great money saver!
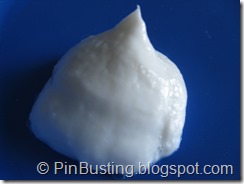
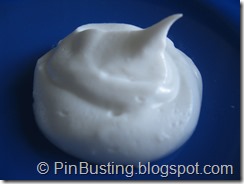
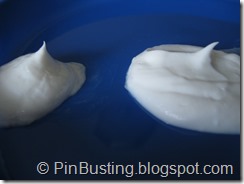
After using for a few days I can say it’s better than the generic and as good as the real thing. The only real difference I noticed is that my homemade soap has a stronger fragrance than the actual. I’m thrilled with the results and feel like I’m getting a little bit pampered in the shower but only spending a little over a dollar on a bottle! :) Compare the dollops yourself – bet you can’t guess which is the “real thing”!
The one on the left is the homemade.
A few tips if you’re going to try:
1. grate over a large bowl before starting to heat the water. Just grate all your soap first over a large bowl to keep the mess down. I ended up with soap shards all over my stove.
2. Turn on the heat after adding all your soap. It doesn’t take long to heat up and you won’t have to monitor the heat while trying to grate.
3. Once the soap is cooled enough that it’s not steaming etc but warm enough that it’s still more fluid, that is when to pour into your container. Or if you wait until completely cooled see if you can pour thicker soap into a large ziploc. Another set of hands to manage the bag while you pour/scoop is a good idea too.
Have fun! I’m sure that this would work for any soap but you’ll need to do some trial and error for the amount of water. I would think that the creamier the soap is the less water it needs but I’m just guessing. Buy a trial size or try just one bar at a time to get it right.
Stephanie
Tuesday, March 19, 2013
Pin 36- make body wash from bar soap
Thursday, March 14, 2013
Pin 35 - make ice cream in a bag
Homemade ice cream in 5 minutes? Yes please. According to my
husband we did this back in 5th grade science class. I have no memory of this but I do remember making butter in third grade and putting it on saltines because our teacher forgot to get bread. Ha… Anyways, I figured it was still worth busting because of a few reasons. It might not taste good. It might make a giant mess. It might not really work well. And who knows what else. So I decided to give THIS PIN a try.
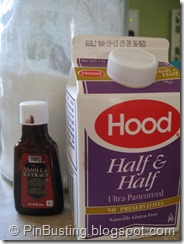
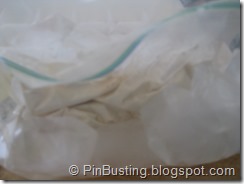
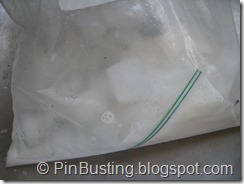
I followed the recipe exactly, 1/2 cup half and half, 1 Tablespoon of sugar and 1 teaspoon of vanilla in a small bag with ice and salt (no measurements given) in a bigger bag.
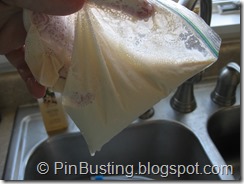
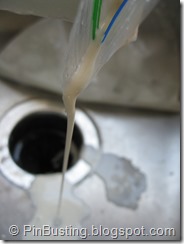
Put the small bag in the big bag seal and shake for 5 minutes. A monkey could probably follow these directions. So I started shaking. And shaking. And shaking. Maybe I’m a wuss but my arms got a little tired… not to mention my hands were freezing. So I took a short break and broke out some over mitts which at least helped the latter problem. Anyways I shook for over 5 minutes and nothing happened except ice melting. Could this be so sensitive that it must be 5 minutes of shaking WITHOUT INTERUPTION?? So I let it sit for a minute or two then tried again, only this time no breaks at all. And I shook for 6 minutes. Still nothing. The liquid just never even came close to freezing! AND my bag was leaking a little resulting in a yucky ice, salt, and creamy mixture in the big bag. Luckily that bag didn’t leak!
Bottom line – emergency resort only
So 5th graders might be able to do this but I wasn’t. Can’t say I’m thrilled about what this might say about my abilities. If it doesn’t work every time it’s not worth my time trying to do it. The only real circumstance I would is under some sort of child or weather induced house arrest situation with a major ice cream craving emergency. And even then if there was any possibility of just going to the store that would be easier, or having the husband stop on his way home. Or even calling my mom if I was that desperate! Either way, just get an ice cream maker if you want homemade!
Stephanie
Tuesday, March 5, 2013
Pin 34–razor to fix pilly things
Pilly sweaters drive me nuts. Especially because it looks hor-ren-dous in the armpit area but also because it can make an awesome expensive
sweater I love look like I just salvaged it from the trash. I’ve seen a few variations of THIS PIN claiming you can shave the pills right off! I’ve had a fuzz buster thingy in the past but a decent one isn’t exactly the cheapest item and if it comes down to it, the budget allows for diapers not fuzz busters! {side note – one of the pins with this claim has orange razors in the pic and actually leads to a nonsense website}
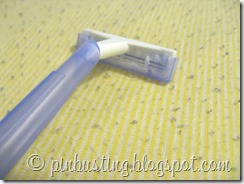
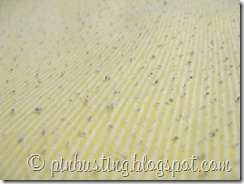
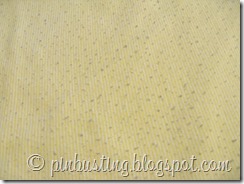
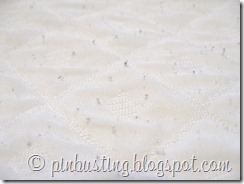
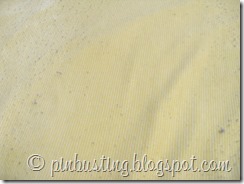
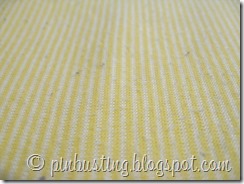
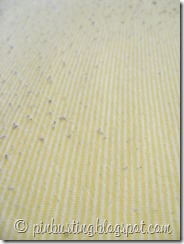
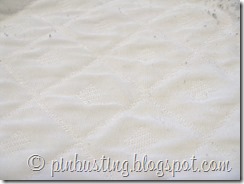
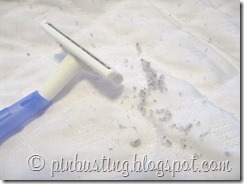
So at my latest trip to the dollar store I purchased a twin pack of straight razors – super fancy 2 blade versions. I’m not about to compromise my expensive razors for this! I decided to try it on my bed sheets. They are a jersey knit and the first time we used them I also happened to be wearing blue pajama pants for the first time and wouldn’t you know they made my sheets have crazy blue pills! Every time I look at them it makes me a little more crazy. I also tried it on my poly-blend duvet cover that says dry clean only but I have washed it a few times resulting in our favorite – pilling! Here are some before shots.
And here are the afters….
It totally worked. Now, it would take me over an hour to do the whole sheet and maybe another hour to do the duvet…. but an average sweater would be far faster. The thing that takes time is not the shaving – I did that with very quick strokes, but the razor gets gummed up and filled with all the pills and you have to keep cleaning it out. The cleaning out part is tricky to not cut yourself too!
Bottom line – do it – but best used on small items
It definitely worked without harming either fabric at all. And it’s possible that using a razor with more blades might help speed up the process – if you’re willing to sacrifice the $4 blade! I will absolutely try on a few sweaters that I’d like to save from donation or crafting :)
Stephanie
